Link Remover - TSLK-2 Instructions
Instructions for Link Removing Tools (Models: TSLK-2, LK3, LK6-4)

What are link removers used for?
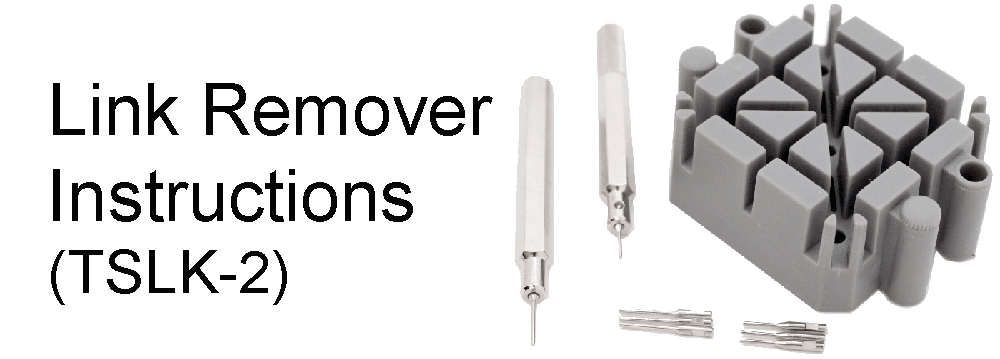
The TSLK-2 is a bracelet and watch band pin and spring bar removing tool set. It can be used for removing pins and watch band links in addition to removing watch bands. It includes a set of pin pushers with .85 and 1 mm tips that can be used for a variety of pin sizes. One of the pin pushers also has a spring bar removing tip. This tool set can be used for links held together with friction pins (either straight or split pins). If you are unsure of what type of pin you have, please continue reading these instructions. If you know that you have a band with a friction pin, you may skip to step 2.
Links held with pins
STEP 1: Determine the type of pin you have
The links in bracelets and watch bands are connected by either friction pins, screws, or U-shaped springs. The first step is to determine which type is used on your band.
Friction pins are held in by friction. Your watch might have friction pins if there are no well-defined screw head slots on either side of the band or if there are arrows engraved underneath the last few links of the band. Examples of bands with different types of friction pins can be seen in the picture below. Friction pins can be either straight pins or split pins.
Some bracelets or watch bands are connected with screw pins. Bands used with screw type links do not have any arrows engraved on the band. In addition, you might be able to see a small screw head. If this is the case, you can remove the screw by using a screwdriver.
Lastly, to determine if you have a U-shaped pin, check the side of the band for any small holes. If there are no pin holes or screw heads visible, it is likely that you have a U-shaped pin head.
STEP 2: Removing different types of pins:
Friction pins are generally removed by carefully tapping them in a certain direction. As shown below, bracelets or watch bands with friction pins often have arrows to indicate in which direction the pin should be pushed. This is particularly important for bands with split pins as split pins can only be removed by pushing them in one direction. It is extremely important to tap the pins in the correct direction to ensure that they are removed properly. If the pin is tapped in the wrong direction the pin pusher tips will break.
To remove these pins, put the bracelet on the grey square plastic base find the right thickness opening on the base and insert the bracelet arrows pointing down. Position the pin pusher over the pin to be removed and tap the pin out from the top with a small hammer.
To remove pins or links, start by aligning the pin pusher directly on top of the pin. If the pin pusher is not aligned properly, the tip of the pin pusher may break. Not much force is needed to push the pin out.
Screw-type pins can be removed using a screwdriver. It is not necessary to use the TSLK-2 tool set.
U-shaped pins cannot be removed with the TSLK2 tool set. U-shaped pins can be opened with these link removing pliers.
